Airstream really put a lot of effort and quality into their Trailer Curtains but after 40 years, it’s time for an update! Sewing new Airstream Curtains is a breeze and just takes time + patience.

Old Curtains
Our old curtains were made of a thick backing with a burlap material. The color was a great neutral for our “Manly Fish Camp” theme but the curtains are too heavy, thick, dusty and outdated. Actually, it’s a miracle they lasted 40 years considering that many Previous Owners ago ripped out the bathtub and bathroom walls!
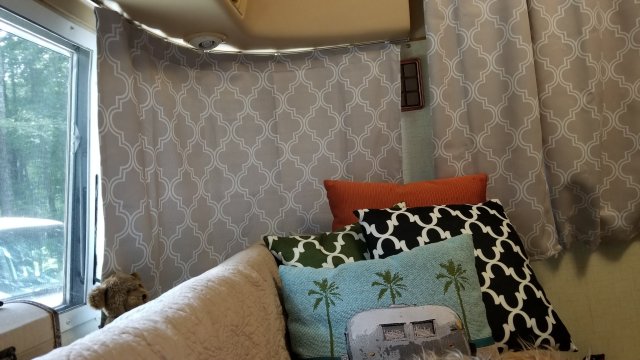
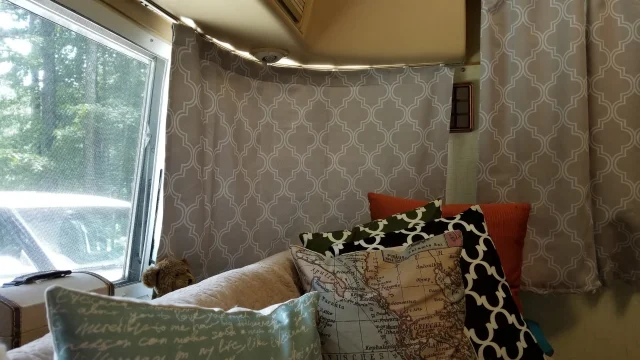
Somehow, I ended up with a lot of patterns in our 29′ Airstream Argosy. It just kind of happened. When I had an idea and installed it, I didn’t have a long term vision. But, I also love to mix patterns and colors so hopefully it will work out in the end.
Last year, I made curtains for the back of our trailer from clearance blackout curtains from Walmart. Those turned out ok but fairly basic with zero character.

Old Blackout Airstream Curtains
One thing that I did know for a fact is that Summer Camping in the South is EXTREMELY hot! The previous owner had cut up those silver car window thingys to fit in each of the windows. They camped with them installed due to the heat. The reason we bought our Argosy was because it had front & back Panorama Windows. I didn’t want to keep them covered with silver inserts.
Read our Original Airstream Curtain Post including Measurements.

Blackout Curtains bought from Amazon
I also knew that cute fabric with no blackout capabilities would not work either. My solution was to purchase cute Blackout Curtains and cut and sew to fit.
I seriously wanted to go bold with color but both my son & husband begged me to keep it neutral. Otherwise, I would have bought Black or Green curtains to match our logo of Camp Golf Eat. I bought two pairs of 84×52 Blackout Curtains with a Quartrefoil design from Amazon for $38 each pair. The color is a Dove Gray that comes across more taupe than gray.
Why did we use Blackout Curtains? The picture below says it all! EXTREME FADE after ONE Summer in our Argosy Motorhome.

Cutting
Thankfully, my husband is an Engineer or else it would have taken me two years to cut these curtains to size and have them matching!! It took him almost a full day to cut and match and for him, that’s a long time. In the end, the back curtains will match each other but the side ones (next to the door and next to the kitchen) are off just a tad but it’s not noticeable.
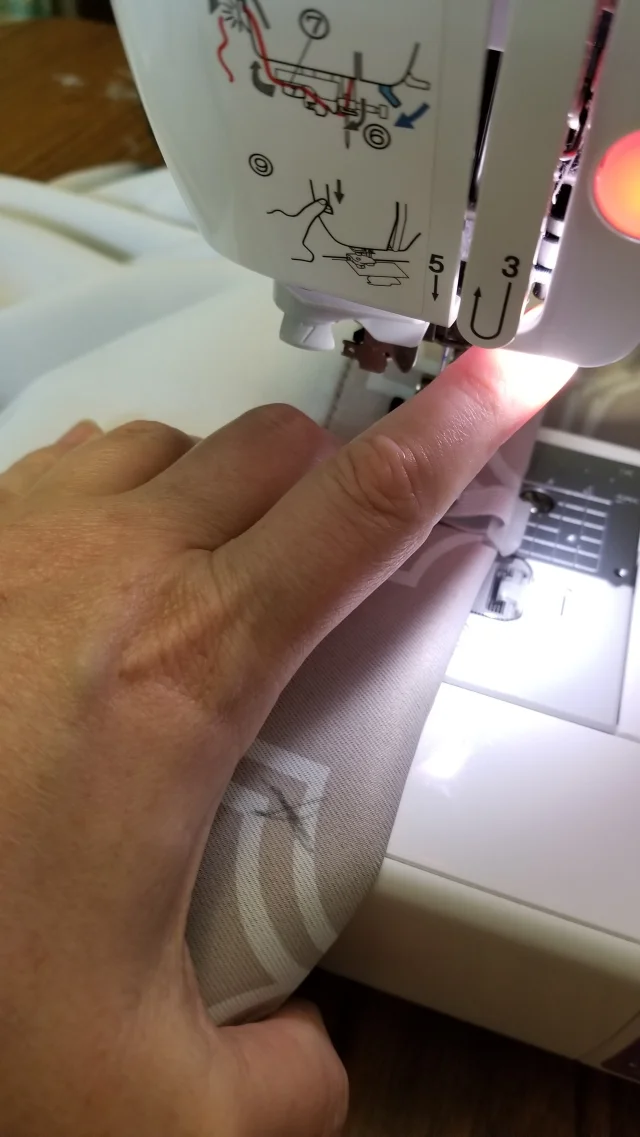
Sewing
This is the easy part but it takes a lot of time and patience. I reused the Airstream Curtain attachments from the 40 year old curtains and just used new braided elastic.

Braided Elastic
I first sewed hems around the interior to prevent the fraying of the cut thread.

Hem to prevent fraying
Then I attached the Airstream Curtain clips to the fabric. It was important to use the old curtains s as a guide because some had 4 clips on top/bottom (for a total of 8), some had 8 (total of 16), some had 9 (total of 18) and some had 10 (total of 20). I’ve listed the exact measurements and number of clips to each photo below for those that do not have their original curtains.
There are a couple of tips to make these look more professional:
- Try to sew the clips along the hemmed seam so they do not have an extra amount of stitching showing.

Sew along seam for professional look

Not sewn with hem

Sewn with hem & close to hem
2. Make sure you have enough Braided Elastic on the clips because these will get pulled often.

Super close to curtain edge
3. Sew on the Braided Elastic so the clips just barely show over the edge of the curtain. If the clips have a lot of extra room above the hem, they will show A LOT of Braided Elastic. It will be ugly & you will hate the look! Trust me. Been there, done that!!
Sew Close to hem to hide the Braided Elastic

This happens when not sewn close to hem
4. IF you do not have the tinted windows, you will need to add an extra step! You will need to sew on a back panel to cover the hems and seams. Otherwise, everyone that passes by will see this ugly side. You could pay for more Blackout Curtains and use the same material/pattern (which means you will have to match up that pattern again for the backside!!) or you can use a basic single color fabric. In the past, I have had moderate success with a tight burlap weave fabric but it does fray after a couple of years.

Clips Sewed Close to Hem
3. Unless you are an expert seamstress, don’t waste your time with pleats. They had bulk that can be frustrating on old Airstream curtain tracks. These curtains end up making their own pleats when not fully extended.

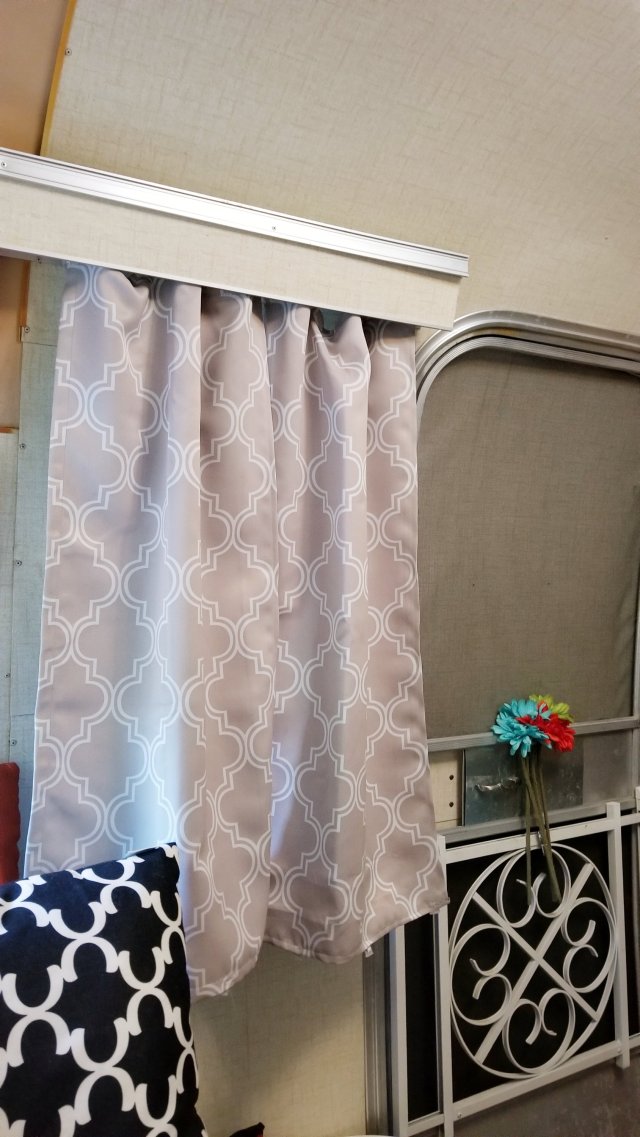
Front Door Window

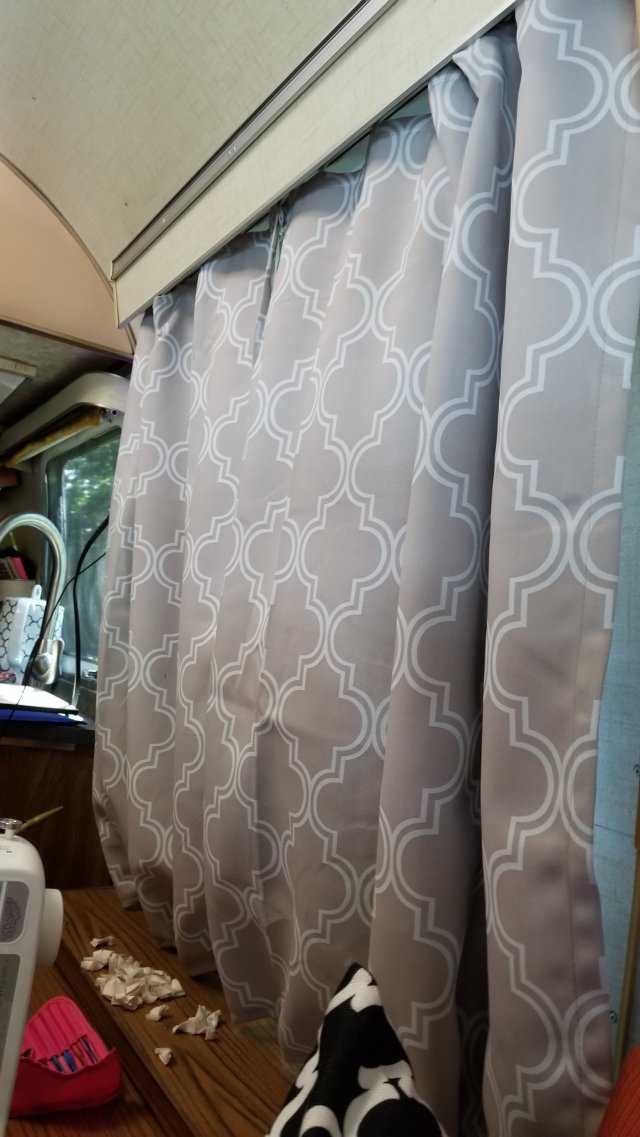
Dove Gray but more taupe than gray

Side Pano Curtain
Curbside Pano Side Window
Measurements for Airstream Panorama Windows:
You will need two fabric panels for each side of the Pano Windows. These two panels require 10 Clips on the Top AND Bottom for a total of 20 clips for EACH CURTAIN. You can add snaps and velcro later, if desired.
You will need two fabric panels for the middle of the Pano Windows. These two panels require 9 Clips on the Top AND Bottom for a total of 18 clips for EACH CURTAIN. You can add velcro later, if desired.

The Middle Panels Work for Front & Back Panorama Windows!
The Front Door Window
You will need two fabric panels for the window by your Airstream Door. These are longer than the front Pano Windows. Each of these panels require 4 clips at the Top AND Bottom for a total of 8 for EACH CURTAIN.
The Window Next to the Kitchen
You will need two fabric panels for the window by your Airstream Kitchen. These are longer than the front Pano Windows. Each of these panels require 4 clips at the Top AND Bottom for a total of 8 for EACH CURTAIN. This is NOT the kitchen window. I have the original shades there & did not make curtains for it.
ORIGINAL Curtain Measurements:
Door Window (X2): 18×38
Kitchen Window (X2): 32×38
Side Panorama (X2): 36×28
Middle Panorama (X2): 32×38
Total Number of Clips Needed: 92
If just doing the Pano and NOT the Front Door & Side Kitchen Window: 76
What WE did for Curtains:
Door Window (X2): 20W×38H
Kitchen Window (X2): 32W×38H
Side Panorama (X2): 36W×28H
Middle Panorama (X1): 42W×28H
Why did we sew the curtains a little differently? We wanted two panels in the middle so the sides could be opened up. The Original Curtains made it impossible to keep a panel in the middle without all the bulk. Trust me when I say that two panels are so much more flexible!!!

NOTE: The above measurements do not account for seam allowances aka hems not already sewn. When using pre-made curtains & cutting them up, usually you have two hems pre-made from the factory. You just have to sew the hems where you cut.
Buy at least 4 Yards of Fabric if no pattern. Buy at least 5 (or 6) yards if your fabric has a pattern.